Do you enjoy both embroidery and jewelry? Why not combine them and craft a stunning embroidered necklace? In this article, we’ll guide you through creating an embroidered necklace adorned with rose motifs, using simple materials and skills. This project is perfect for beginners looking to explore embroidery as a hobby, or for experienced embroiderers seeking to create a meaningful gift for themselves or loved ones.
Materials You’ll Need
To make this embroidered necklace, you’ll need the following materials:
- A small embroidery hoop (approximately 3 inches in diameter)
- A piece of cotton fabric (slightly larger than the embroidery hoop)
- Multi-colored embroidery floss (we used red, green, and yellow)
- An embroidery needle
- A pair of scissors
- A pencil
- A necklace chain
- A small clasp
- A jump ring
- A glue gun or needle and thread
6 Steps to Create a Beautiful Embroidered Necklace
Follow these steps to create your own embroidered necklace:
Prepare the Fabric and Hoop
Cut a piece of fabric slightly larger than the embroidery hoop. Place the fabric over the inner ring of the hoop, then place the outer ring over it. Tighten the screw to secure the fabric. Ensure the fabric is taut and flat.
Sketch the Design
Use a pencil to lightly sketch a rose motif onto the fabric. You can draw any type of rose you like, or follow our example. We’re sketching a simple rose with a central bud, five petals, and some leaves around it.
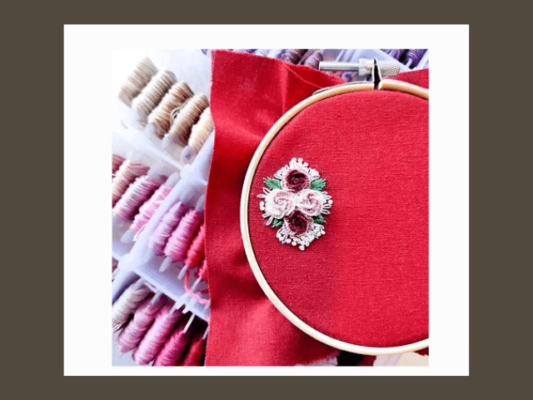
Embroider the Design
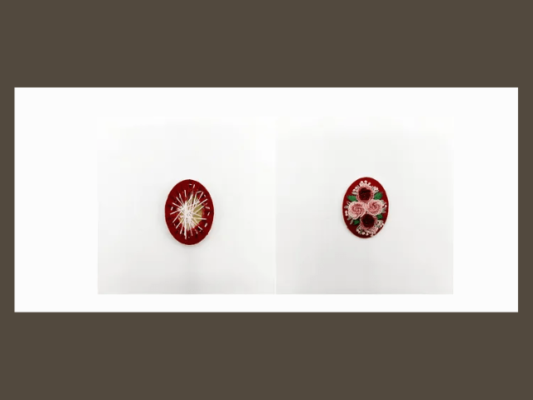
Use embroidery floss and a needle to stitch along the pencil lines. You can use any stitches you like, or follow our example. We’re using the following stitches:
– Backstitch for the central bud and outline of petals and leaves.
– Satin stitch to fill in the petals.
– French knots for the center of the rose. To make a French knot, bring the needle up through the fabric at the desired center point of the rose, wrap the floss around the needle two or three times, then insert the needle back into the fabric close to where it came up.
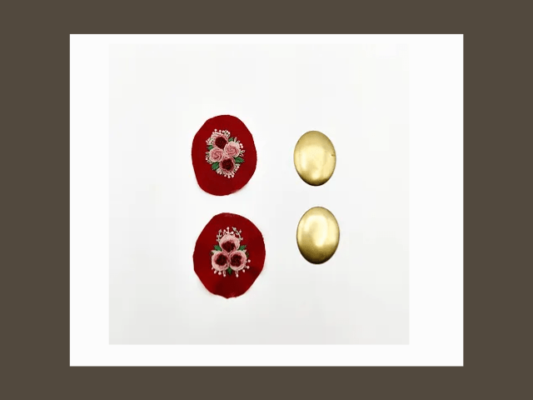
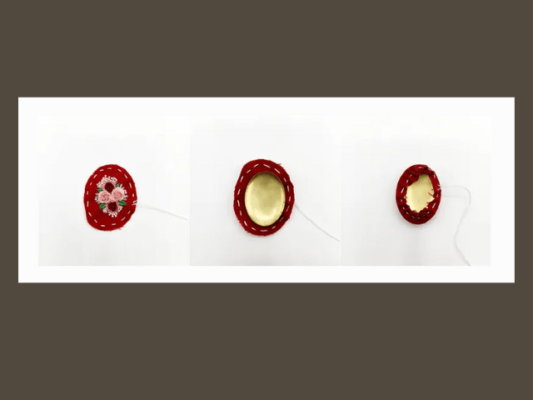
Complete the Embroidery
Once you’ve finished embroidering, trim away the excess fabric around the hoop, leaving about half an inch of fabric. Then, use a glue gun or needle and thread to fold and glue or stitch the fabric to the back of the hoop. Ensure the front of the embroidery is flat and smooth.
Attach the Chain
Use pliers to open a jump ring, then thread it through the screw of the embroidery hoop. Then, thread one end of the necklace chain through the jump ring and close it using the pliers. Repeat the same process for the other end of the chain, and then attach a clasp to one end of the chain.
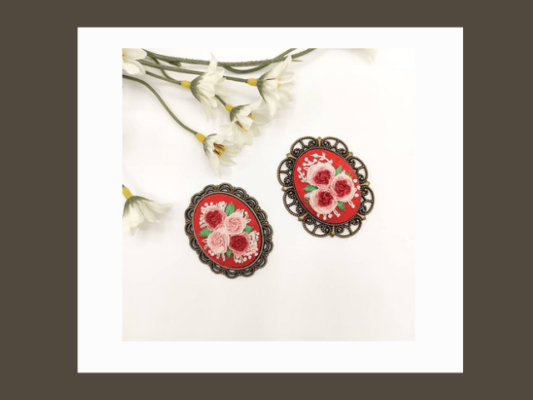
Enjoy Your Embroidered Necklace
You’ve just created a beautiful embroidered necklace that you can wear or gift to someone special. You can also create more necklaces with different motifs and colors, and have fun with embroidery.
Conclusion
Creating an embroidered necklace is a fun and creative way to combine embroidery and jewelry-making. With just a few simple materials and skills, you can craft unique and personalized necklaces. You can also vary the designs and colors according to your preferences, and enjoy the embroidery process. Give embroidered necklace-making a try as a hobby, or create a meaningful gift for a loved one.
Related Posts
- 15 Must-Have Free Fonts for Commercial Use
- The Ultimate Guide to Outdoor Fonts for Your Designs
- Embracing Diversity Best Read Across America Week 2024